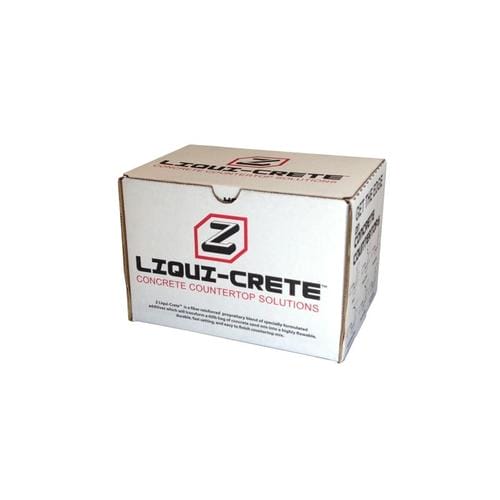
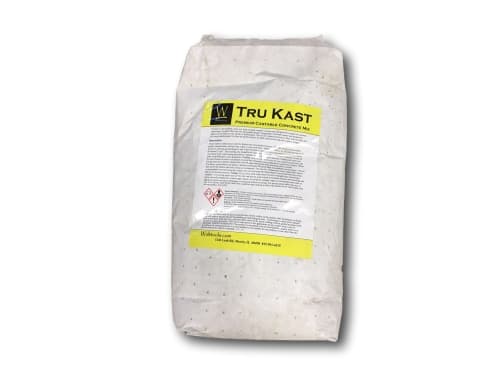
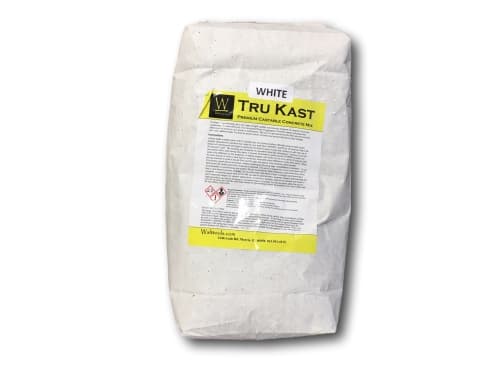
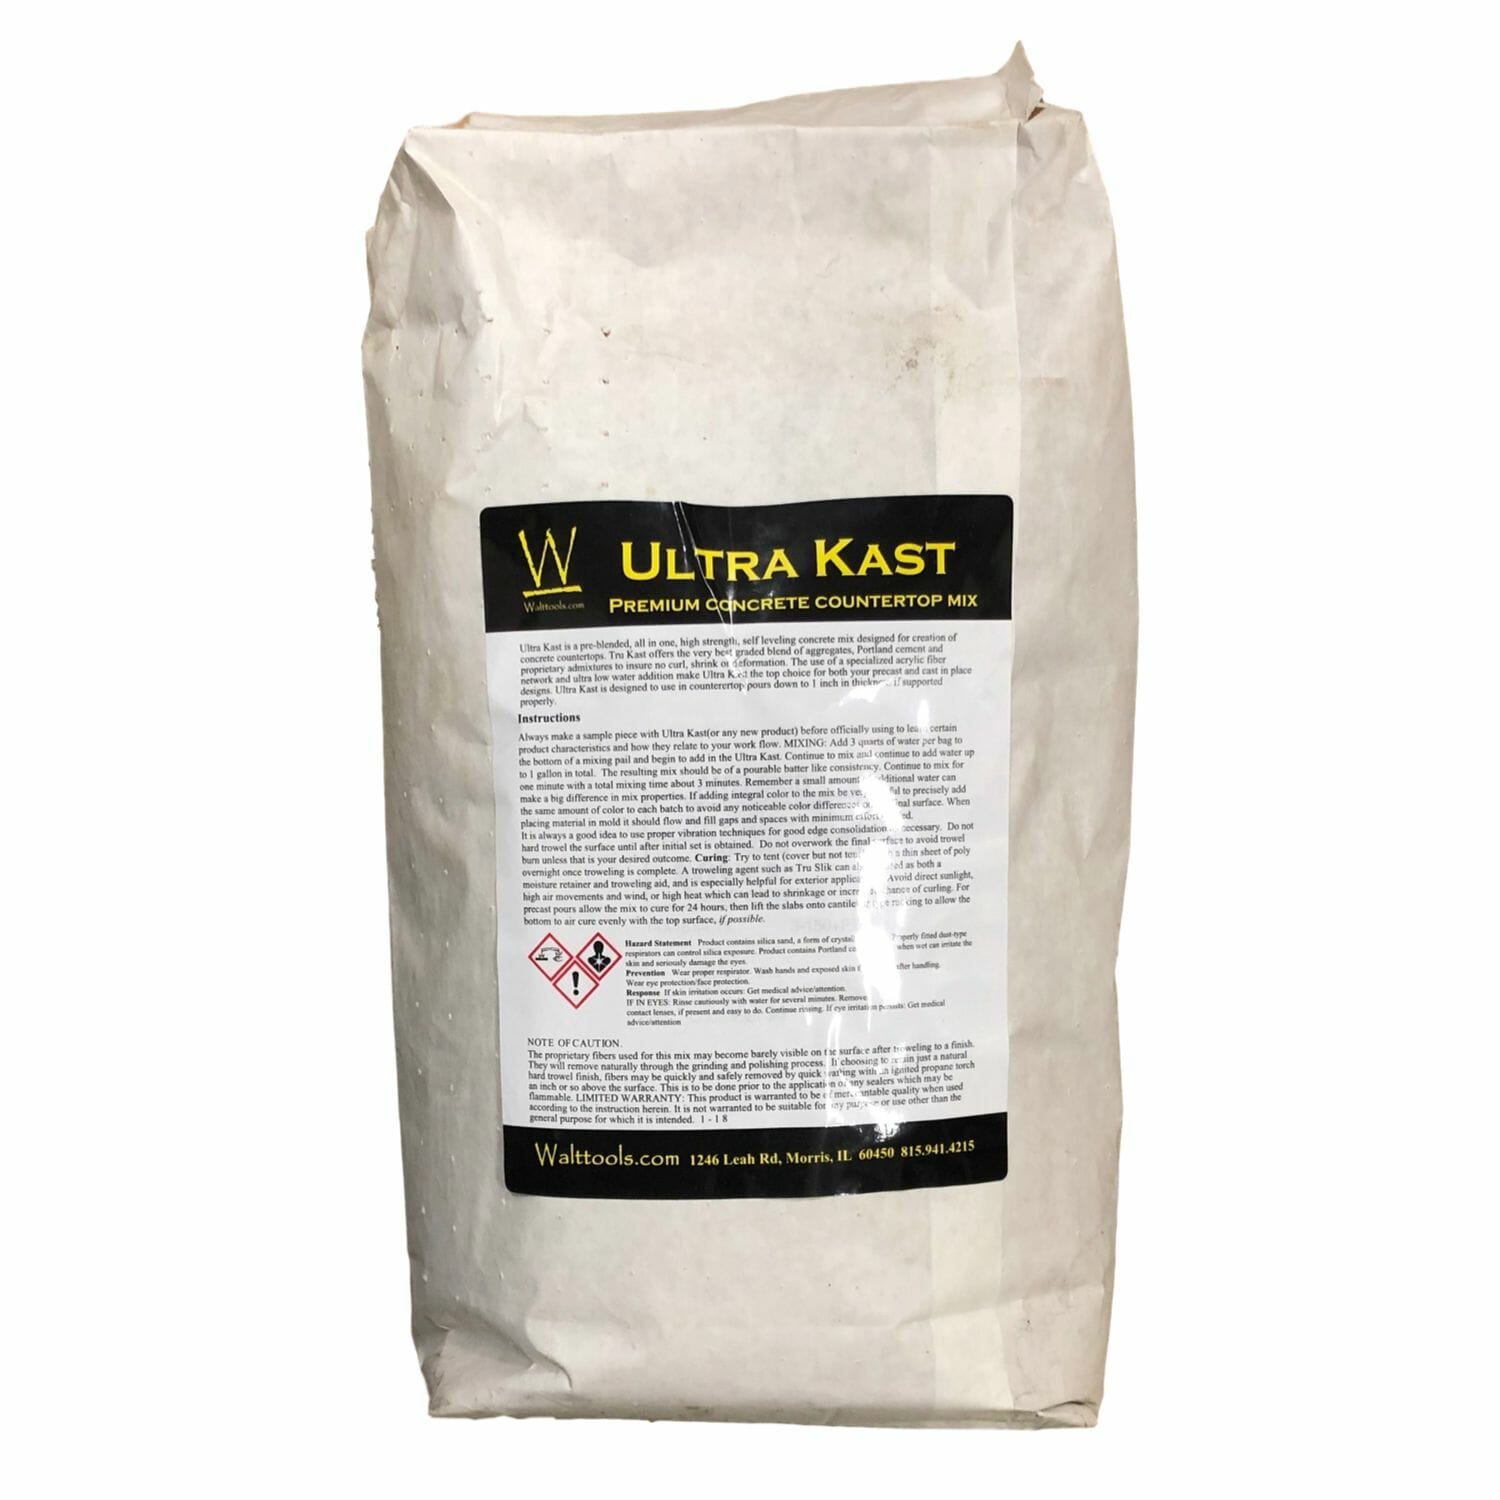
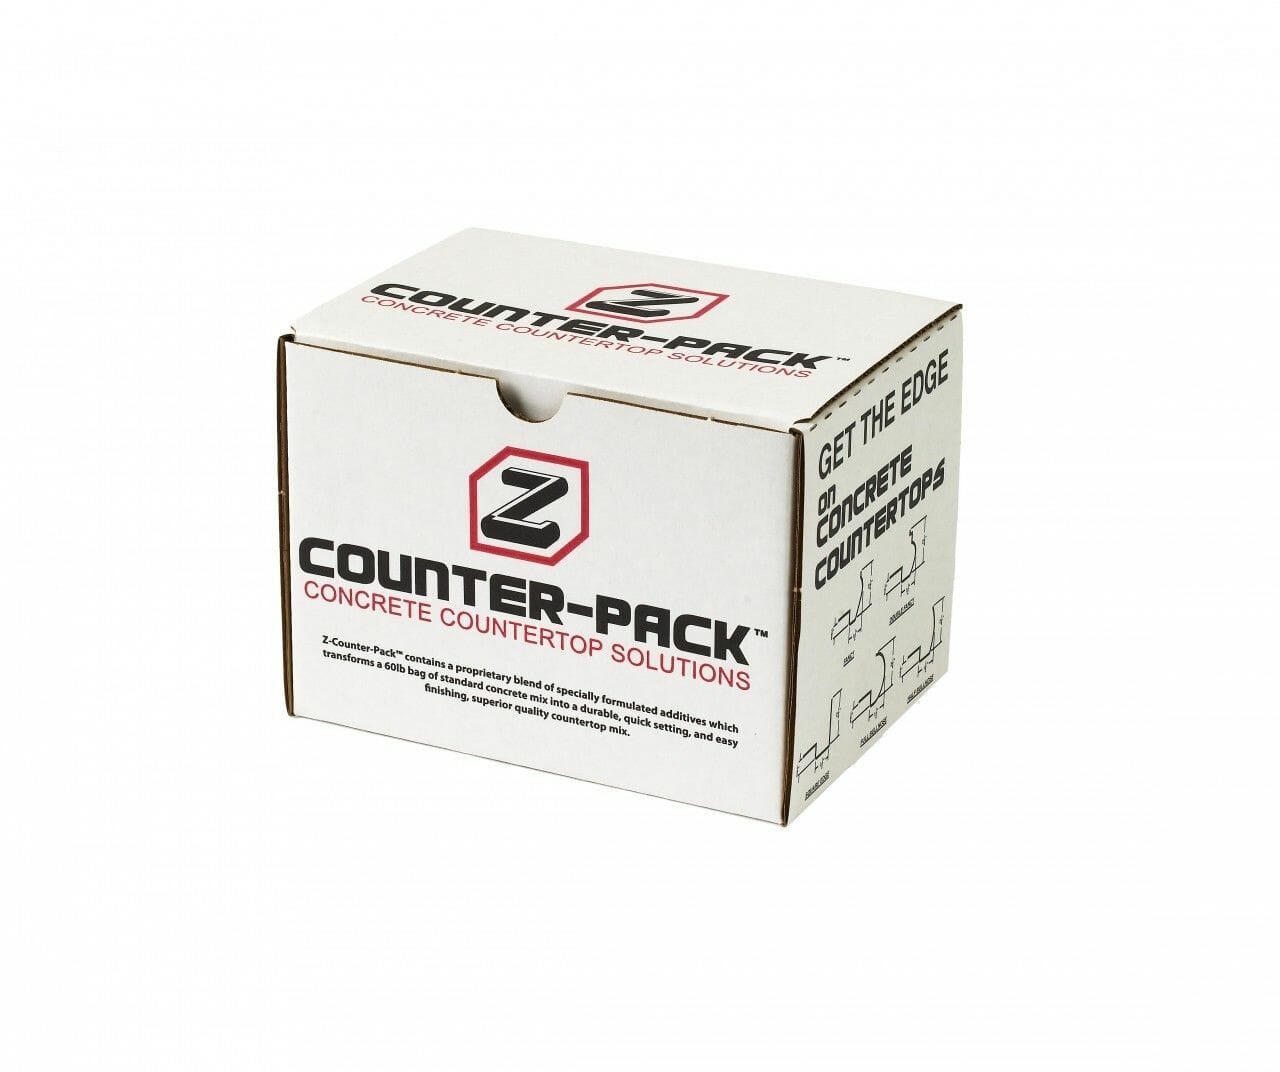
OverviewSpecsFAQsGalleriesResourcesReviews Product Description LC-001 Z Liqui-Crete Add Mixture Z Liqui-Crete contains a proprietary blend of specially formulated additives and ultra-fine acrylic fibers that will transform a 60 lb. bag of standard concrete sand mix into a high-strength flowable concrete mix that easily flows through the 1″x1″ FG50 Fiberglass Mesh grid. The mix is easily troweled smooth and yields a high-strength fiber-reinforced countertop. *Z Liqui-Crete should be combined with a concrete sand mix (Quikrete Sand/Topping, Sakrete Sand Mix) in a 5 or 10-gallon bucket using a paddle mixer. Concrete drum mixers will not produce consistent results. May also be combined with a standard 60 lb bag of concrete as well. Six boxes mixed with six 60 lb prebagged mixes will yield 23.4 sq ft in our standard forms and about 14.5 sq. ft. in our taller commercial forms. See the video below. Step 1 – Mixing: In a large mixing container or 5 gals. bucket, combine 2 quarts of water, 1 Z Liqui-Crete pack, and any optional integral colors. Mix for one minute. Next, slowly add in a 60 lb. bag of CONCRETE SAND MIX and up to an additional 3 quarts of water. Mix thoroughly with an auger or paddle type mixer for approximately 2 minutes, or until all ingredients are completely blended. An additional one or two cups of water may need to be added to obtain a thick batter consistency. The water volume will vary slightly depending on the pre-bagged sand mix. DO NOT overwater. It is always safer to err on the drier side. Pre-bagged mixes which contain larger aggregate can be used but may require slightly less water. Step 2 – Pouring: Concrete can be poured into forms starting at one end of the countertop and working to the other. A screed should be used to level concrete and make sure it is even with the top of the forms. Additional concrete may need to be added to certain areas where concrete dips lower than the height of the forms. Step 3 – Floating: Once an initial set is recognized you may begin to trowel concrete with a magnesium float. In a controlled temperature and humidity this will most likely be 1-2 hours after the concrete is placed. Light to moderate pressure should be used to achieve a nice and level preliminary finish. Be careful not to drag or pull concrete out of place. The magnesium float will leave the surface with a porous texture. This is key to allow air and water to continue to escape from the concrete as it cures. Step 4 – Finishing: Once all bleed water has evaporated and the concrete is very firm, you will use a steel trowel for the final finish. Again, the amount of time will vary depending on a number of factors but will most likely be around the 4-5 hour mark when using the Liqui-Crete admix. You can test the concrete by lightly pressing it down with your finger. A light touch should not leave a fingerprint nor will wet concrete stick to your finger. A very firm press will leave a slight indentation. At this point, use the steel trowel with moderate to firm pressure to smooth the concrete to a slick surface. Once the finish is satisfactory, let the concrete cure for 48 hours before removing forms or sanding.
With proper care, your pearl jewelry will maintain its beauty for generations. Follow these simple guidelines to keep your pearls lustrous and elegant.
Daily Care
Put pearls on last when dressing - after makeup, perfume, and hairspray
Wipe gently with a soft, damp cloth after each wearing to remove body oils
Avoid contact with cosmetics, perfumes, lotions, and hairsprays
Remove pearls before swimming, showering, or exercising
Don't wear pearls while applying makeup or styling hair
Storage
Store separately from other jewelry to prevent scratching
Use the soft pouch provided with your purchase
Keep away from direct sunlight and heat sources
Avoid plastic bags - pearls need to breathe
Store flat for necklaces to prevent stretching
Keep in a cool, dry place with some humidity
Cleaning
Use only a soft, damp cloth - microfiber or cotton
Never use ultrasonic cleaners or steam cleaners
Avoid harsh chemicals, detergents, and abrasive cleaners
Don't soak pearls in water or cleaning solutions
Let air dry completely before storing
Pro Tip
Wearing your pearls regularly actually helps maintain their luster! The natural oils from your skin keep pearls hydrated and beautiful.
Things to Avoid
Chlorine (swimming pools) - damages pearl luster
Salt water - can dry out and damage pearls
Vinegar, lemon juice, or other acids
Hair spray and perfume - contains alcohol and chemicals
Excessive heat and direct sunlight
Storing in a safe deposit box for long periods (too dry)
Shipping & Return Policy
Q1.SHIPPING TIMES AND COSTS ?
FREE Shipping for orders over $69 USD.
All orders are processed mostly within 48 hours and shipped Monday to Friday (Excluding weekends and holidays).
Delivery Time: Orders are typically delivered within 10-20 business days (excluding weekends).
Please go to the TRACK YOUR ORDER page to find out your order delivery status.
Please note that all shipping time are estimiated by carrrier, and we cannot guarantee shipping times.
See the Shipping policy for details on shipping costs, terms, delivery times and FAQs.
Q2.EXCHANGES, RETURNS AND REFUNDS
At Joucey Pearls, we take pride in the quality of our jewelry. Our return policy is designed to ensure a smooth and fair process for both our customers and our business.
We only accept returns for items that are damaged during delivery. You must request a return within 30 days of receiving your item if it was damaged upon arrival.
To be eligible for a return due to damage:
The item must be in the same condition that you received it, with tags and original packaging.
You must provide proof of purchase (receipt or order confirmation) and clear photos of the damage. We might like to discuss with you for a replacement immediately for damaged items.
Please note:
The customer is responsible for return shipping costs, and shipping/handling fees from the original purchase are non-refundable.
We do not accept returns for reasons such as change of mind, dislike of the item, or if the item has been worn, scratched, or damaged after delivery.
Non-Returnable Items
Custom products (such as special orders or personalized items) cannot be returned.
Custom products (such as special orders or personalized items) cannot be returned.
Sale items, discounted items, personalized items, and gift cards are FINAL SALE and cannot be returned or exchanged. If you have any questions or concerns about your specific item, please contact our customer service team. Joucey Pearls is not liable for return shipments lost or damaged in transit.
Secure Payments
Description for this block.
Free Shipping
Description for this block.
24/7 Support
Description for this block.
Gifts & Sales
All of our items come in a beautiful gift box designed to showcase the beauty of your pearls.